
Photo Essay – Anatomy of a Quilt
I recently discovered the equilateral triangle template and attended my first quilting class on free-motion quilting. I decided to created some mini quilts so I could practice my new skill! Naturally, I ended up designing a series of 6 mini quilts (each 7.5 inches square) in a the colors of the rainbow and with a 6-pointed star as the focal point of each quilt. I took pictures throughout the entire creative process, from selecting fabric to hanging the finished quilts. Enjoy!
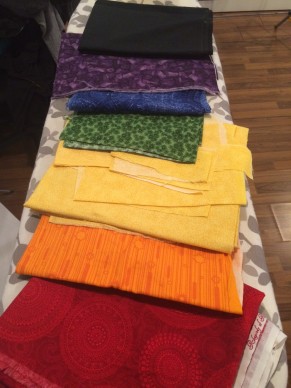
Selecting fabric–although each mini quilt can stand on its own, since they are part of a series it was important that each fabric matched in overall hue/tone…
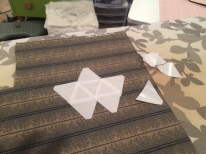
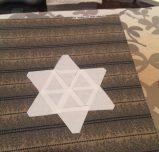
Next up, make a template using freezer paper to determine the size of my triangles (1.5 inches) and finished size of the star…
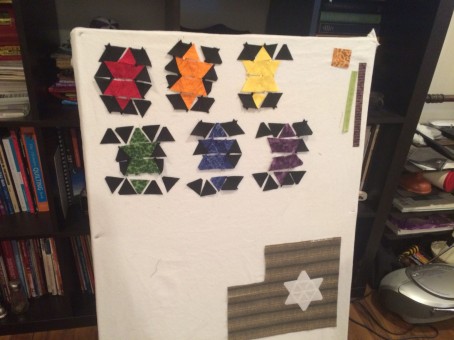
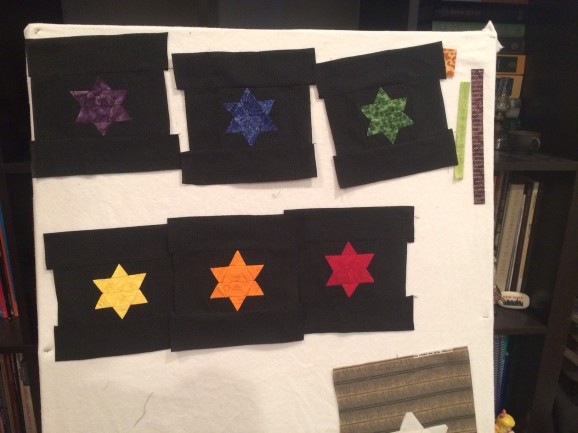
After cutting MANY tiny triangles (168 in total), I lay them out on my design board and began sewing them together…
And added boarders…
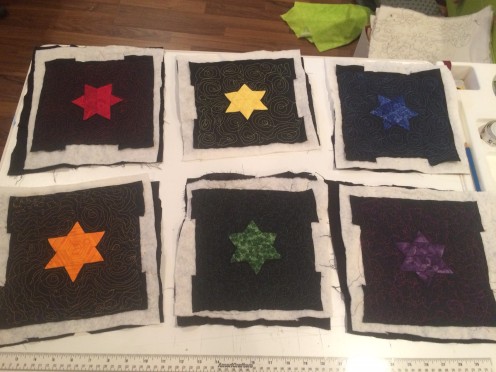
Next I made the “quilt sandwiches,” pinning together the back of the quilt, batting, and quilt top, so that they can be quilted (sewn) together…

Each quilt was free-motion quilted in a thread color which matched the ROYGBV color of the specific quilt. Since I’m new to free motion quilting, I attempted a few different designs, and am mostly pleased with how they came out…
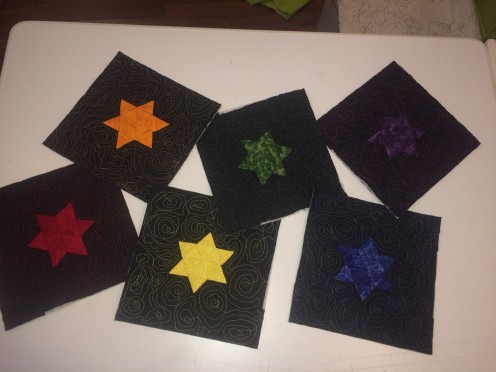
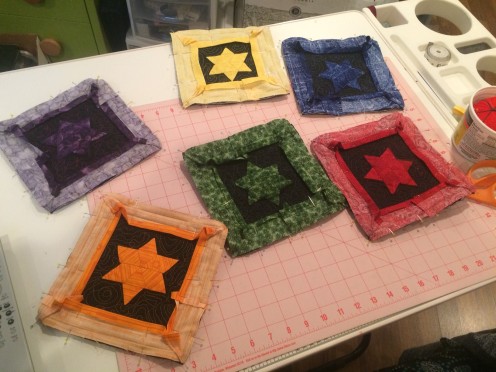
And then I trimmed the edges…
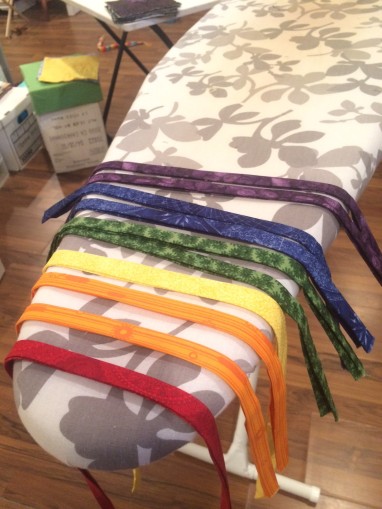
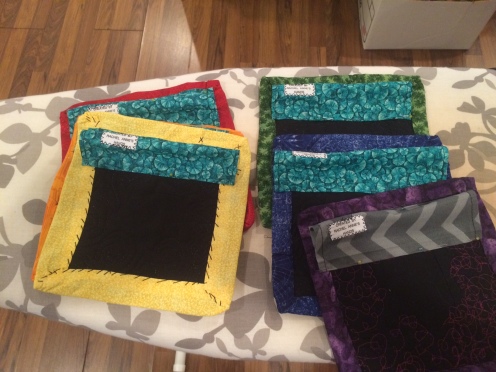
Next up, I cut each ROYGBV fabric into strips to make the binding for each quilt, and then pinned and sewed the binding around the front of each quilt. Once the binding was machine sewn on front, I hand-sewed the binding to the back of the quilt (so you can’t see the stitches on the front of the quilt).
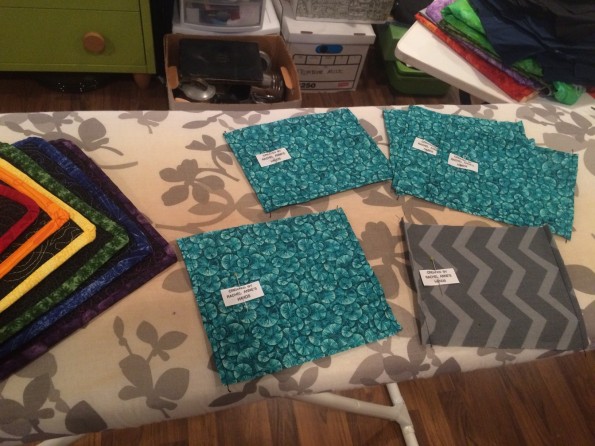
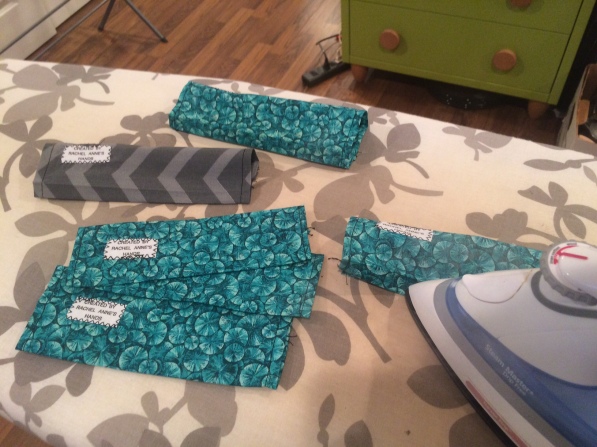
Now the quilts look finished (from the front), but the quilt sleeves still need to be made and sewn to the back of each quilt. To save myself some handsewing, I sewed my labels to the quilt sleeve instead of the back of the quilt…
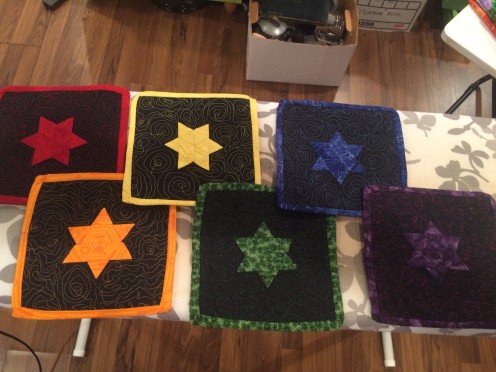
After I sewed on the quilt sleeves, they were immediately hung going up the staircase!
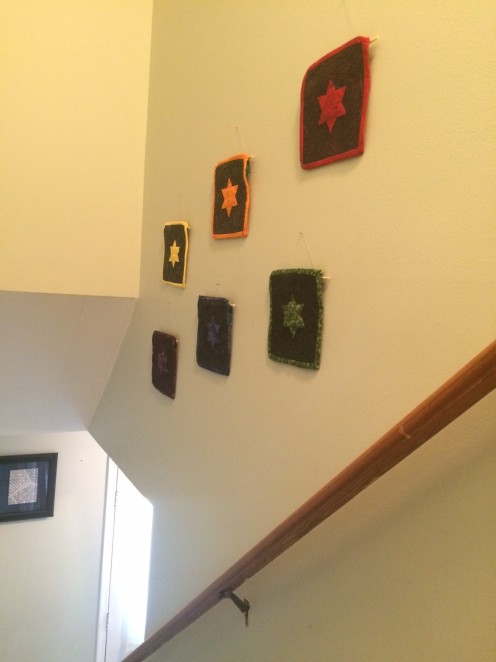
And now my first quilt series is complete!
